
The first step is to cut the film. No need to sort the film pieces and/or keep track of which ones are the left and right views as we'll figure that out later.

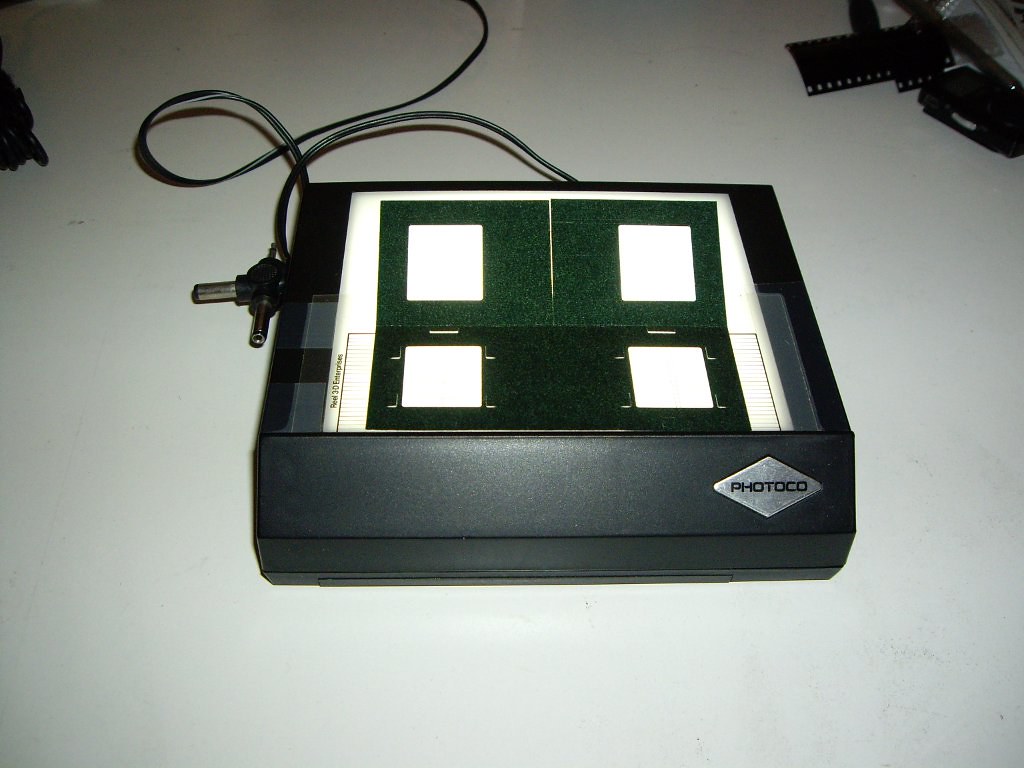
This is the light box with the 5 perf. Realist mounting gauge aligned with the bottom (of the light box).
We are now ready to mount our first stereo slide. Look among all your film pieces and grab a pair (of film pieces). There's always a number on the film piece and the piece with the lower number is always the right piece (has to do with how the film travels in the camera). Place the right film piece in the left aperture of the mount, between the indentations, emulsion side up (the emulsion side is always the dull side). I personally use 3M adhesive dots (one for each piece) to keep the film in place and for adjusting its position but thin strips of tape are fine as well. Close the left lid to make sure the film won't move while you're taking care of the other piece. Place the left piece in the right aperture and adjust the film's position so that it's aligned vertically and horizontally. Take a look at the 3-d slide mounting instructions for more info on alignment.
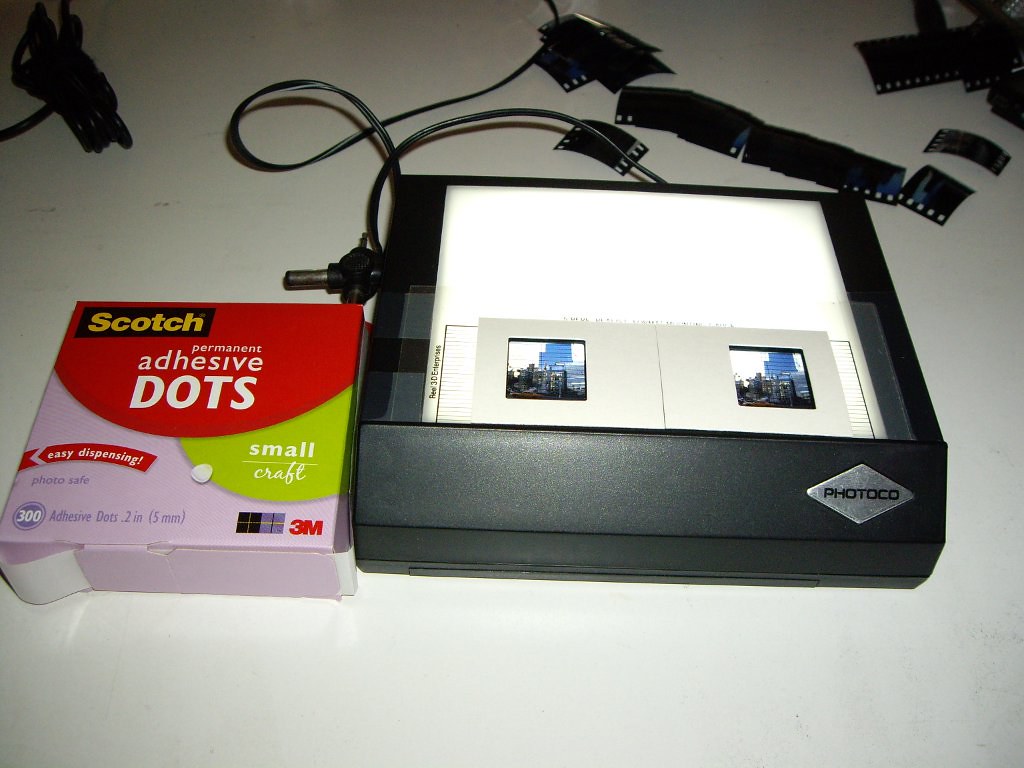
Here, the slide has been mounted and is ready to be sealed. Note the 3M adhesive dots on the left (those are usually available among scrapbooking supplies).

To permanently seal the mount, you just need a small (travel) iron.
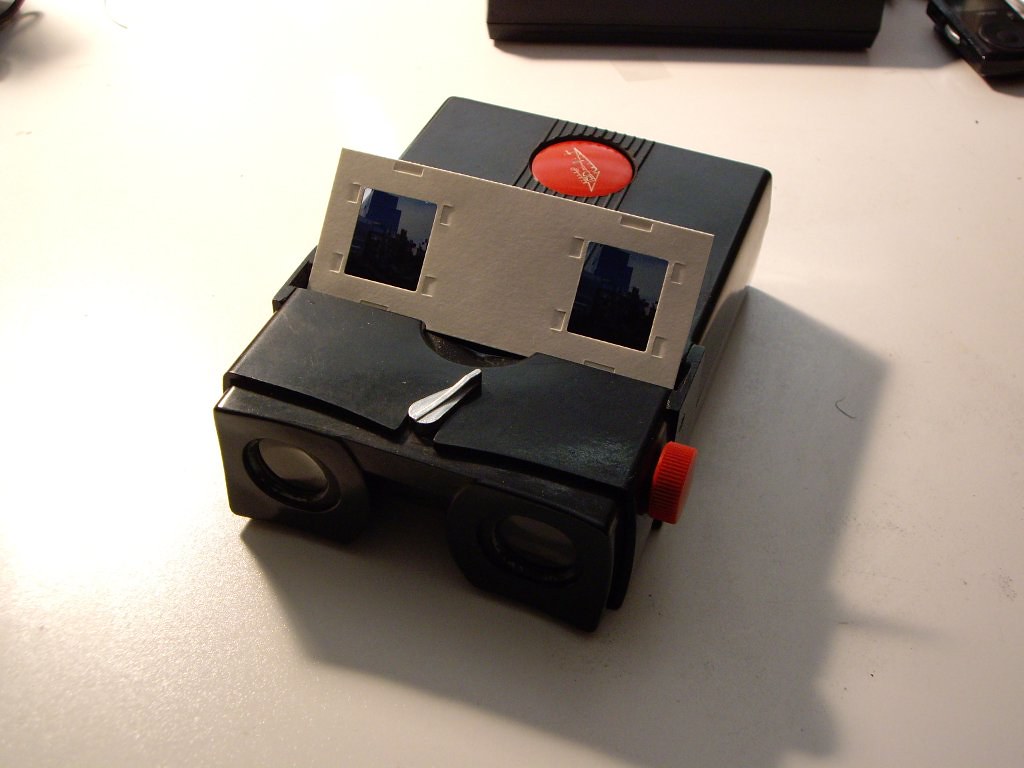
You always view the mounted slide with the smaller apertures facing you. Now, it makes sense why we put the right film piece in the left aperture of the mount.
No comments:
Post a Comment