
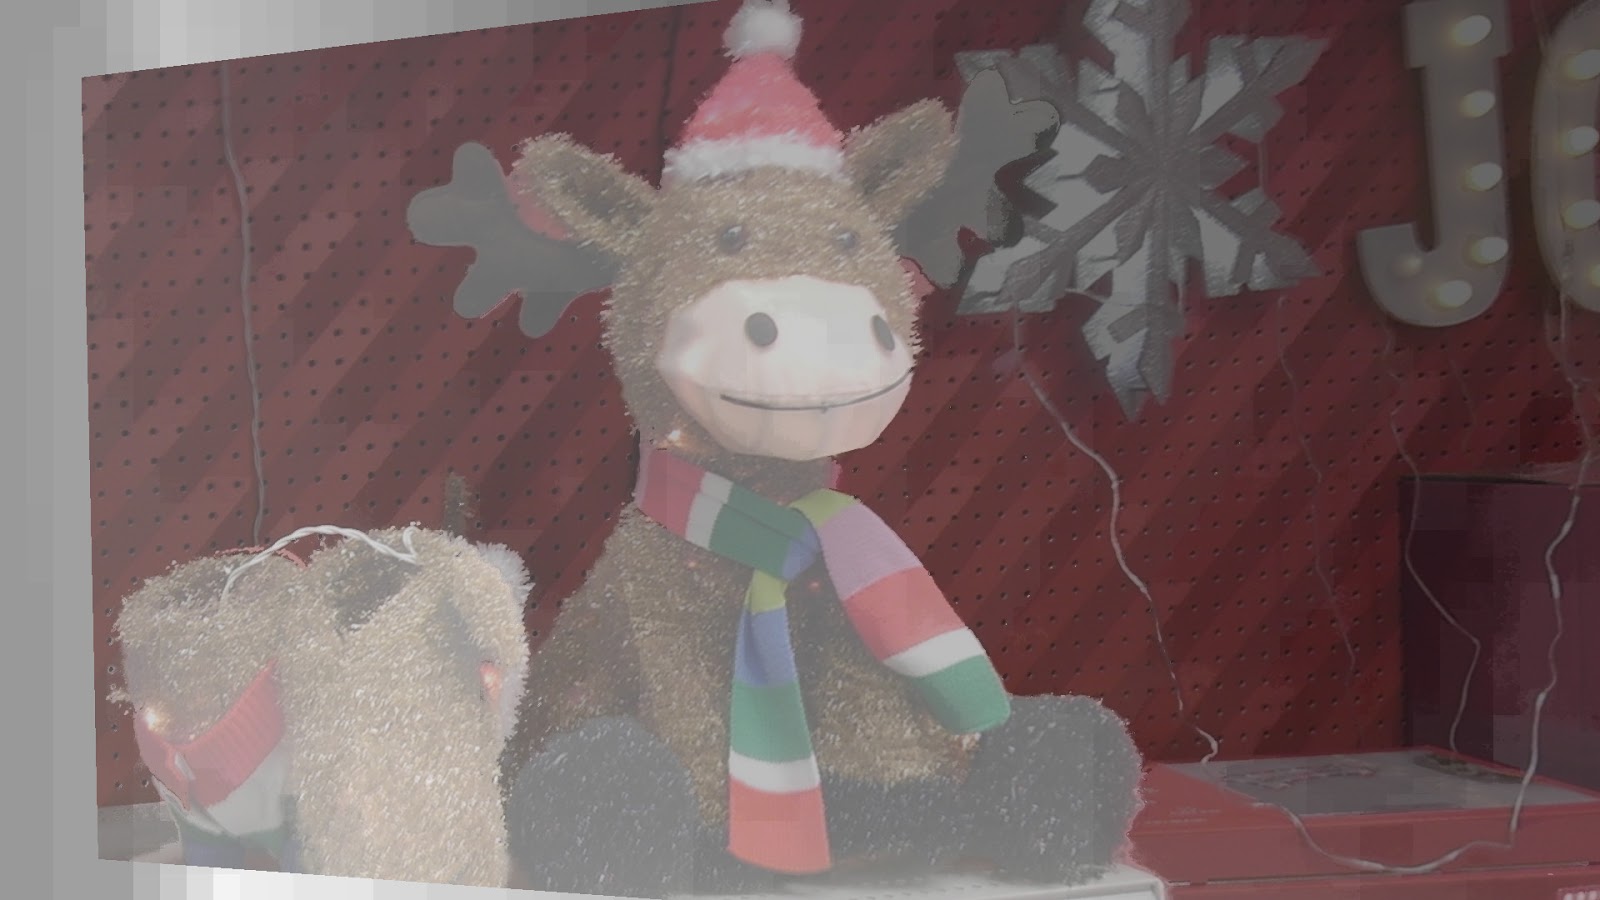
This is a stereo pair taken by my htc evo 3d cell phone. The image size is 1920x1080 pixels,

This is the stereo pair as rectified/aligned by er9b.

This is the depth map obtained by dmag5.

This is the depth map obtained by dmag5 shown here on top of the left image using 70% transparency.
Parameters used for dmag5:
image 1 = ../image_l.png
image 2 = ../image_r.png
min disparity for image 1 = -22
max disparity for image 1 = 29
disparity map for image 1 = depthmap_l.jpg
disparity map for image 2 = depthmap_r.jpg
occluded pixel map for image 1 = occmap_l.jpg
occluded pixel map for image 2 = occmap_r.jpg
radius = 32
alpha = 0.9
truncation (color) = 30
truncation (gradient) = 10
epsilon = 255^2*10^-4
disparity tolerance = 0
radius to smooth occlusions = 9
sigma_space = 9
sigma_color = 25.5
downsampling factor = 2
We are gonna try to see if we can improve the depth map quality using eps2, eps5, eps7, eps9, and dmag9b. Eps2 is a bilateral filter. Eps5 and eps7 are approximations of the bilateral filter. Eps9 is an edge preserving median filter. Dmag9b is powered by the Fast Bilateral of Barron et al.

This is the depth map obtained by eps2.

This is the depth map obtained by eps2 shown here on top of the left image using 70% transparency.
Parameters used for eps2:
reference image = ../../image_l.tiff
disparity map = ../depthmap_l.tiff
radius = 32
gamma proximity = 32
gamma color similarity = 8
smoothed disparities = depthmap_l_eps2.tiff

This is the depth map obtained by eps5.

This is the depth map obtained by eps5 shown here on top of the left image using 70% transparency.
Parameters used for eps5:
reference image = ../../image_l.tiff
disparity map = ../depthmap_l.tiff
smoothed disparity map = depthmap_l_eps5.tiff
radius = 16
epsilon = 255^2*10^-4

This is the depth map obtained by eps7.

This is the depth map obtained by eps7 shown here on top of the left image using 70% transparency.
Parameters used for eps7:
image to filter = ../depthmap_l.jpg
joint image = ../../image_l.png
sigma_s = 1000
sigma_r = 100
num_iterations = 3
filtered image = depthmap_l_eps7.jpg

This is the depth map obtained by eps9.

This is the depth map obtained by eps9 shown here on top of the left image using 70% transparency.
Parameters used for eps9:
reference image = ../../image_l.png
disparity map = ../depthmap_l.jpg
radius = 16
sigma_space = 16
sigma_color = 25.5
smoothed disparity map = depthmap_l_eps9.jpg

This is the depth map obtained by dmag9b.
This is the depth map obtained by dmag9b shown here on top of the left image using 70% transparency.
Parameters used for dmag9b:
reference image = ../../image_l.png
input disparity map = ../depthmap_l.jpg
sample_rate_spatial = 32
sample_rate_range = 8
lambda = 0.25
hash_table_size = 100000
nbr of iterations (linear solver) = 25
sigma_gm = 1.4142
nbr of iterations (irls) = 32
radius (confidence map) = 12
gamma proximity (confidence map) = 12
gamma color similarity (confidence map) = 12
sigma (confidence map) = 2
output depth map image = depthmap_l_dmag9b.jpg
Conclusion: The best tool to improve this particular depth map seems to be eps2 and dmag9b. Interesting!
Now that we have a depth map we are satisfied with, it's time to generate a 3d wobble for everybody's entertainment ...

This is the 3d wobble created by wigglemaker.

Special bonus: This is the animated gif created by depthmapviewer.
No comments:
Post a Comment